Dreamcast Tablet
Tablets before they were cool
2017-11-10
While home on break from college, I decided that I was going to do another electronics project. I started looking around to see what others had done recently and noticed that everyone was making portable versions, but no one was making tablets. Now at this point tablets as we know them weren't a thing. The only tablets that were around were ones that were really laptops that their screens could turn around and lay flat on top of the keyboard. I decided that it would be a fun project to try and turn my other Sega Dreamcast into a tablet. The result was pretty great.

Nowadays something like this would probably have just been an all-in-one device but at the time it was a tablet. One of the things I wanted to do with the tablet was to make it have a disc drive that came out of the case like a computer disc drive, instead of having a piece of plastic flip-up where you load the games. That way I could make the tablet lay flat. In order to do this, I gutted an old PC we had lying around and tore apart the disc drive so that I would just have the plastic tray. I designed a circuit using two 555 timer ICs in a way they most definitely were not intended to be used. But in the end, I had a functioning sliding disc tray.


In order to attempt to keep the tablet as thin as possible, which wasn't very possible, I had to remove a connector that connected the GD-ROM board to the mainboard. There were 50 connections which meant 100 solder connections. Many of the traces broke while removing the connectors as well which meant tracing the lead on the board back to the next solder point. I just used a razor blade to cut the connectors off, remove the old pins, and then solder everything back together.


I ordered a small stereo amplifier off the internet and assembled it for the sound. I made a round piece of plastic and used a Dremel to put a notch into it in order to have a dial to spin to adjust the amplifier potentiometer.

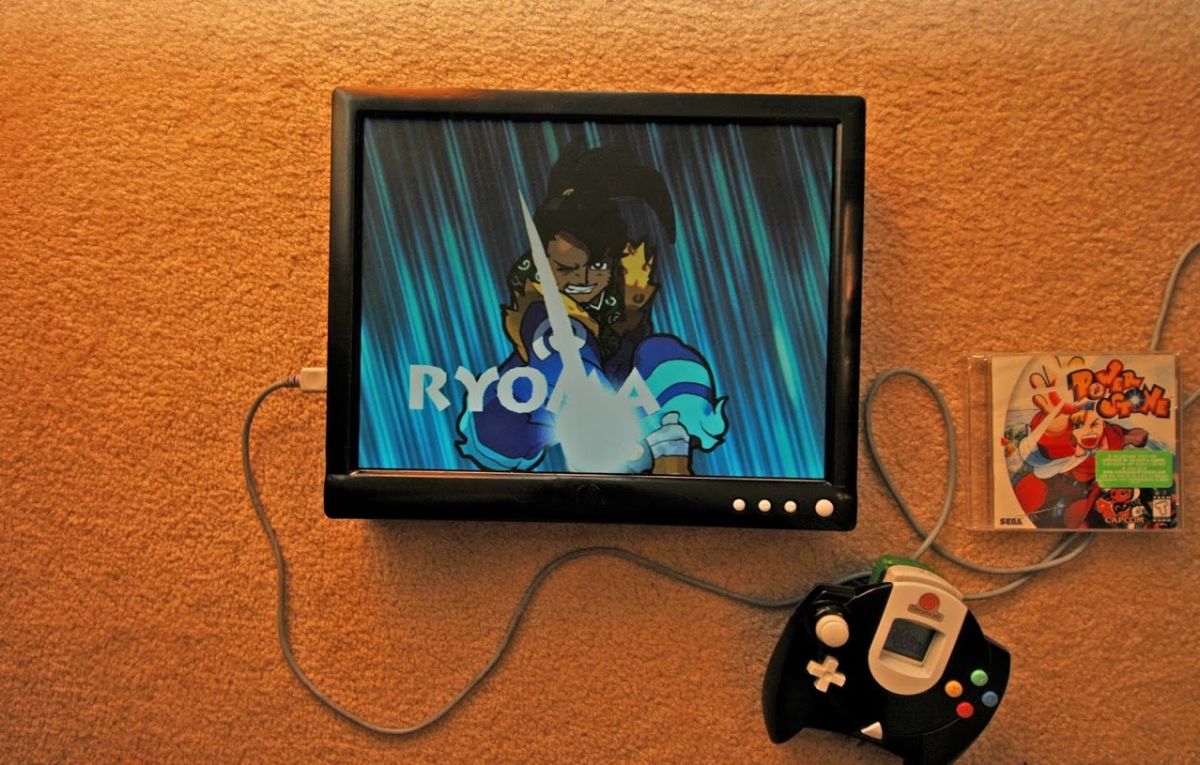
For the screen, I purchased an older 15" Dell monitor and replaced the backlight in it with something a little more energy efficient since this thing was going to be running off of batteries. I also got the necessary components to do the VGA mod for the Dreamcast to connect it to the monitor. The large button on the front of the screen would become the button to open and close the disc drive.


The last thing to do was to assemble the case which I approached in a similar manner as my Dreamcast Portable. This involved buying a large sheet of acrylic and then cutting out all of the parts and gluing them together. I had beveled edges on this case by gluing a small strip of acrylic around the inside corners of the case and then sanding the outside edge.


After all of this was done I put all of the components into the case along with the batteries and hooked everything up to each other.

There is a video on youtube of the machine running. Check it out.