Built in desk
A built-in desk for our basement living room
2017-11-29
We needed to tear out the old closet in our basement living room because it was built improperly and was also aesthetically unpleasing. There were some exposed nails and screws on the inside as well as 2x4s on the outside of the drywall for the baseboard and trim to attach to. After the issues we had with the closet on the second bedroom, I knew this closet was also going to be a problem and either needed to be rebuilt or replaced with something else.
After chatting with my dad about it he suggested we replace it with a built-in desk that could provide a lot of storage, as well as a great place for my wife to do her sewing projects and my kids to do crafts. We liked that idea and went for it. A desk, if positioned properly would allow us to hide the pipes in the ceiling that drop down just below the floor joists.
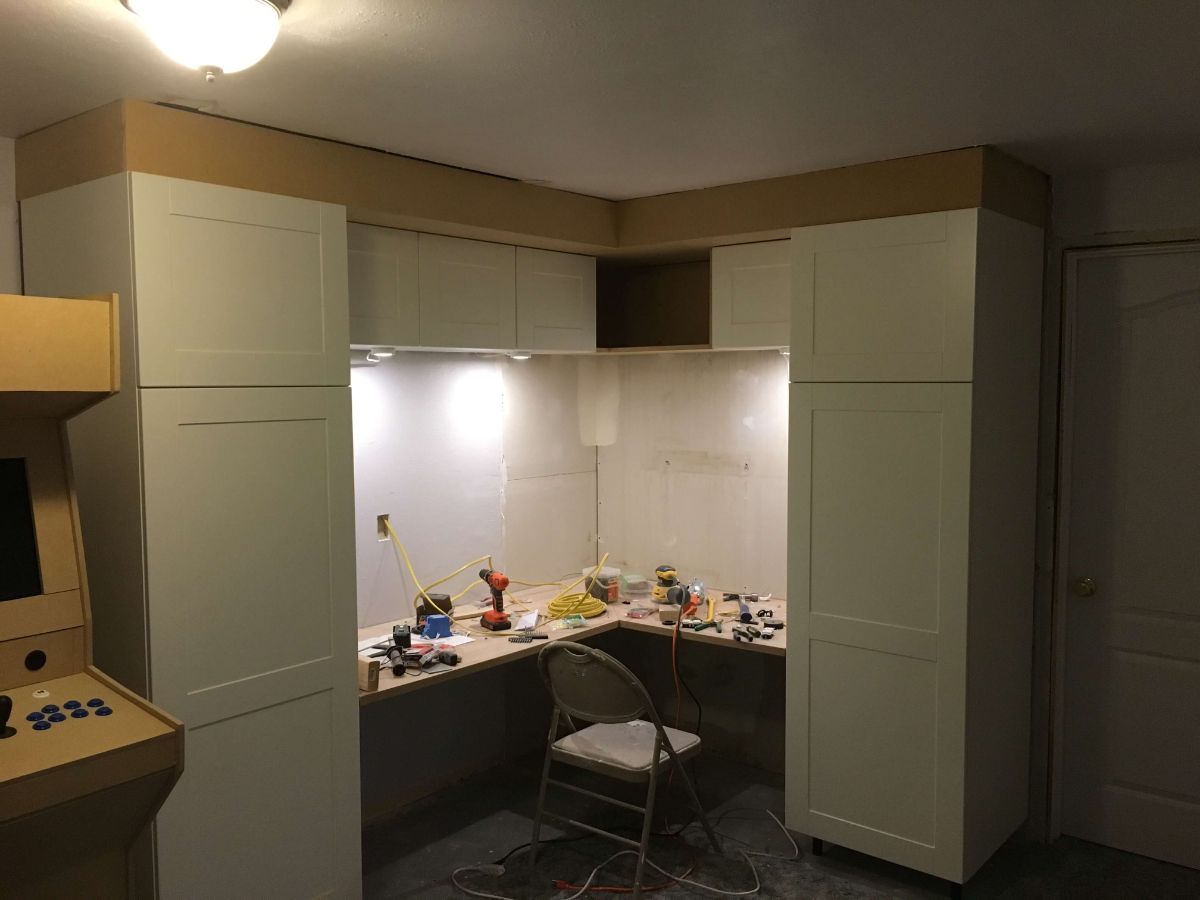
With the help of my father, we were able to get the desk slabs and cabinets built and hung up in a weekend.

We decided that in between the two cabinets in the corner we would build a shelf with no door on it, to connect the cabinets together. We also decided to build some boxes to sit on top of the cabinets that went up to the ceiling. This would allow us to hide the P traps you can barely see in the hole in the ceiling.
With the custom shelf built and installed, I went ahead and started building the boxes that would sit on top of the cabinets to give them the look of extending to the ceiling. Up to this point, we had been planning on putting some recessed lighting inside of the box above and in front of the cabinets. After I got half of the box up there and secured I realized that wasn't going to work. The cabinet doors were too close to the bottom of the box and with recessed lights and a bezel around the light, the doors wouldn't open. So we decided to instead go with lights underneath the cabinets which was a huge pain to install since fishing the wires around the cabinets was difficult.

After the lights were installed I finished up the top and am done with the desk for now. We plan on putting some corkboard or a white board on the walls under the cabinets.

(My DIY arcade cabinet makes an appearance here. Another blog post coming on that soon.)